
How a Dieline Becomes Print Artwork
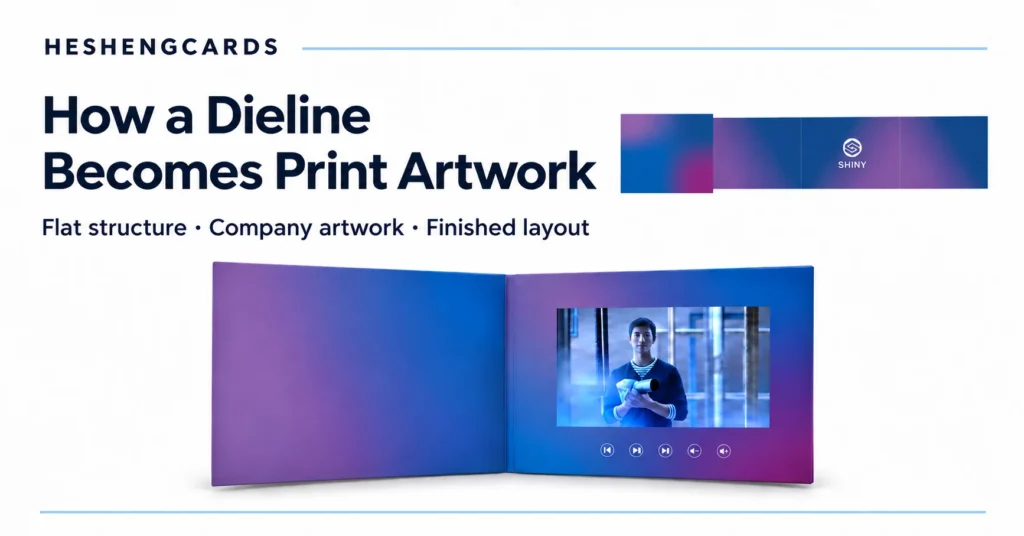
A dieline is the structural map for a printed product. It shows where material is cut and folded and where features such as the screen opening belong. Print artwork adds the images, typography and branding that the recipient sees. Moving from one to the other requires more than placing a logo inside an outline: the design must work when the brochure is printed, assembled and opened.
Start with the correct template and revision
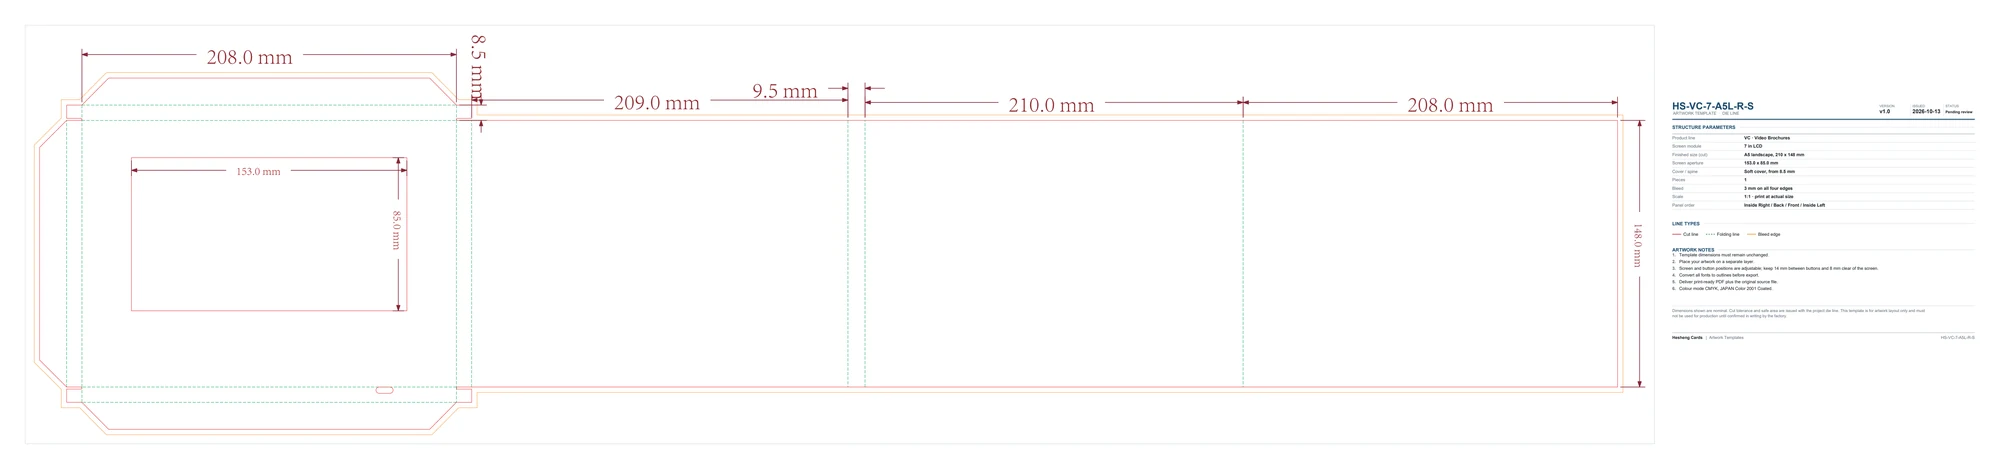
Confirm the product format, screen arrangement and template revision before designing. Heshengcards provides standard-format dielines through the website Resources section. If your project needs a different structure, size or layout, contact the team to discuss a custom dieline rather than stretching an existing file.
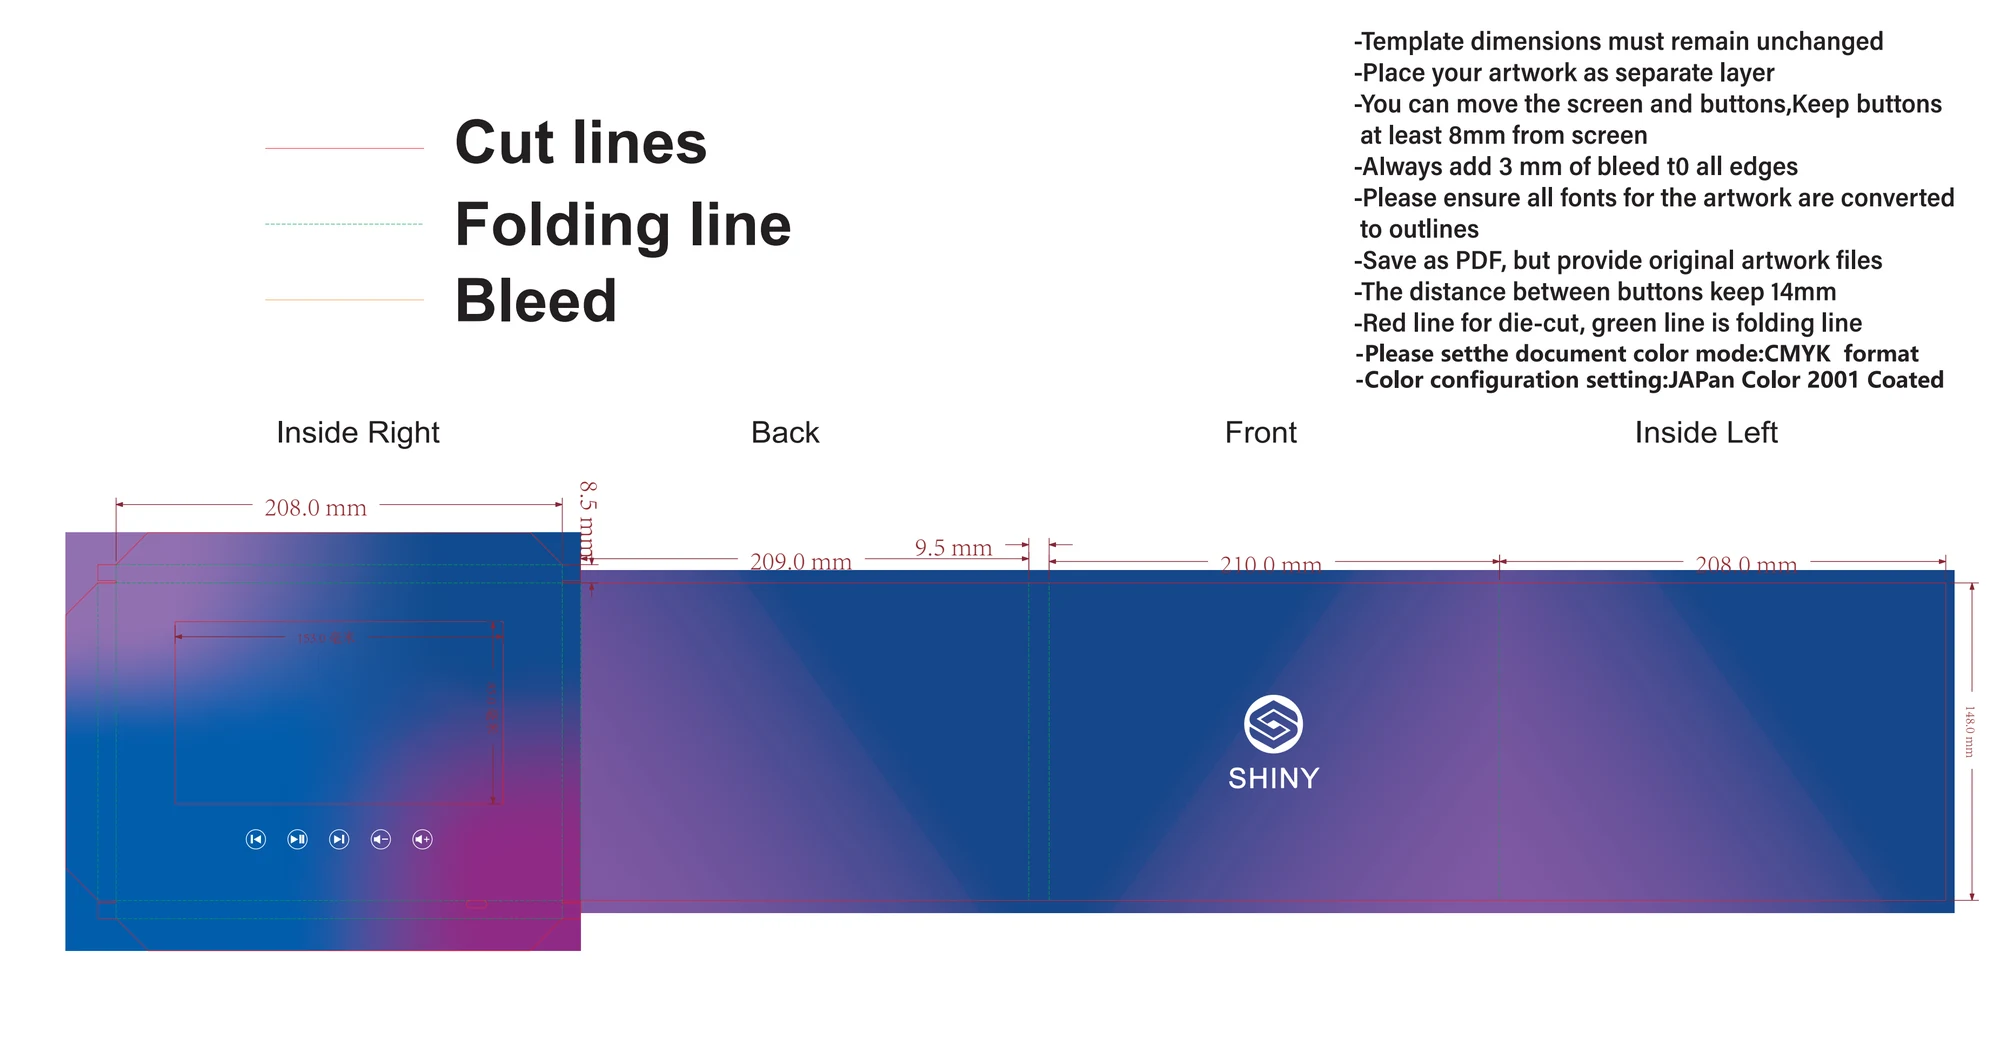
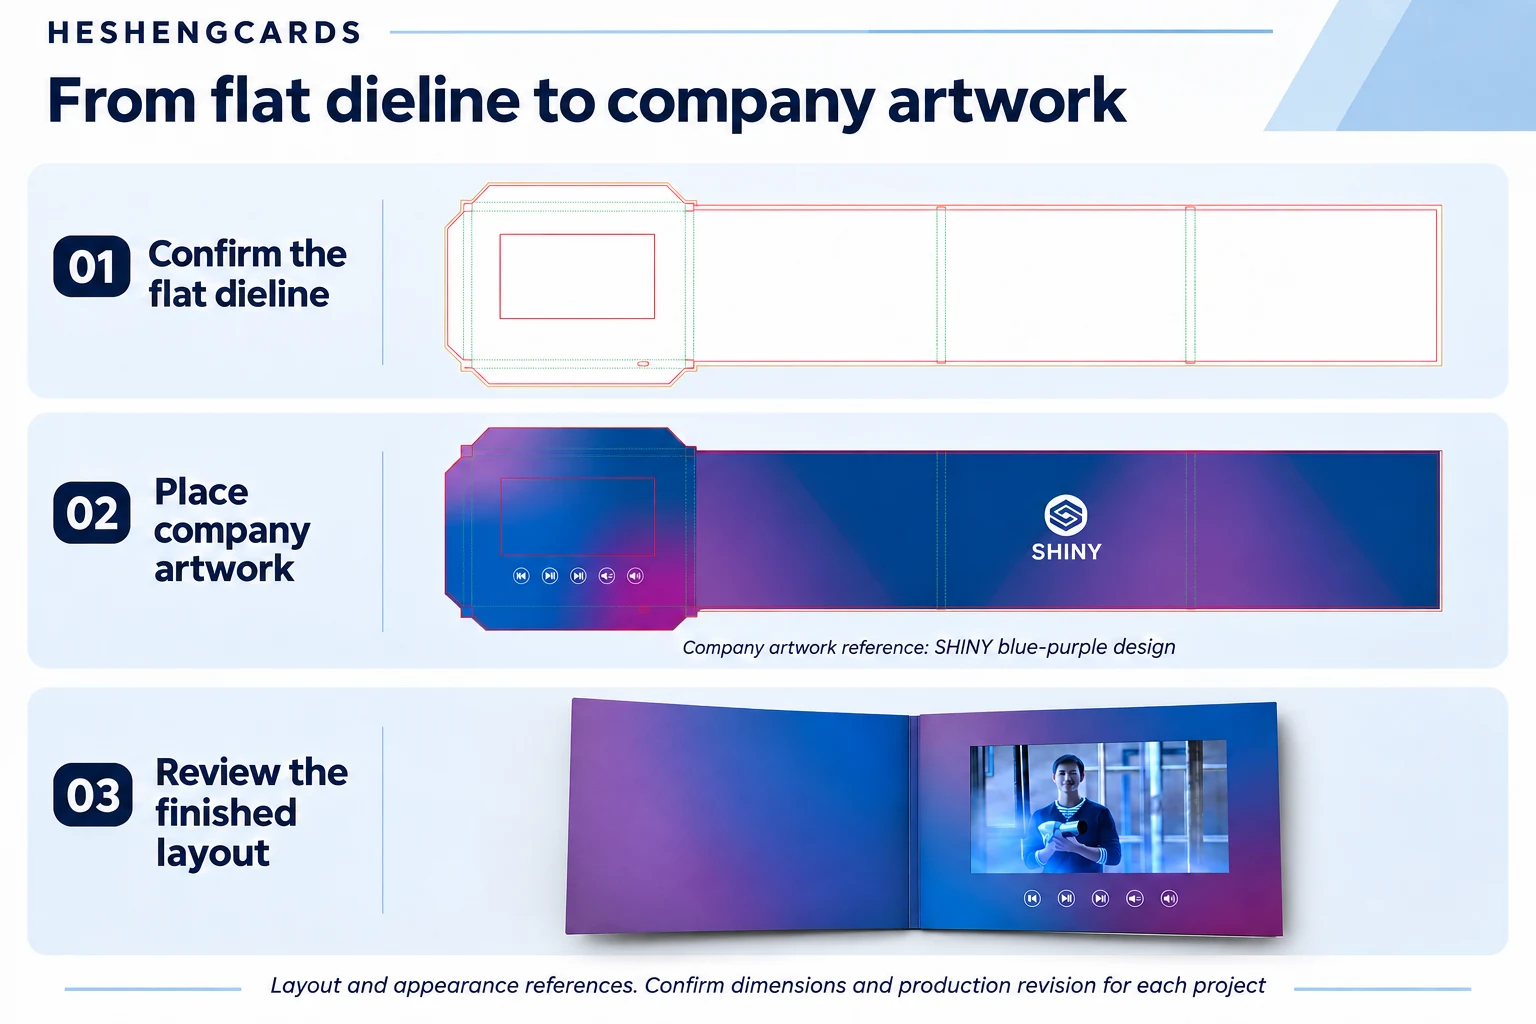
This article uses a blank HS-VC-7-A5L-R-S structural reference together with the company’s supplied blue-purple SHINY artwork layout. The artwork file shows four flat panels labelled Inside Right, Back, Front and Inside Left. The large-screen blue-purple brochure selected by the company is used as the finished-layout reference.
Keep the original file dimensions and confirm the project revision before preparing production artwork. The blank reference originally carried a pending-review note; providing a populated artwork file does not by itself establish production approval. Confirm the final layout, clearances and manufacturing revision with the factory.
Map the panels before adding visual content
Read the panel order and opening direction first. This example lists Inside Right / Back / Front / Inside Left. A flat arrangement can look unfamiliar because the printed sheet will later be folded and wrapped into the finished product.
Prepare a simple panel map for the front cover, back cover and inside spread. Check where each headline, image and message will appear when the brochure is closed and opened. If a panel assignment is unclear, ask for clarification before final artwork is placed. A paper mockup can help check reading order, but it does not replace engineering review of the structure.
Keep technical guides separate from printable artwork
Work at the supplied scale and keep the template dimensions unchanged. Place artwork on a separate layer so the structural guides remain identifiable. Follow the factory’s export instructions for technical lines; setting a line to a spot color does not by itself prevent it from being printed. Both template confirmation and artwork placement use the same flat unfolded layout; the finished view is checked after folding and assembly.
Extend backgrounds into the specified bleed where they reach a cut edge. Keep essential text and logos within the project’s confirmed safe area. Bleed and safe area have different purposes: one extends artwork beyond the cut, while the other keeps important content away from vulnerable boundaries. Do not reuse a bleed value as an assumed text clearance.
For this template, the cut line is red, the folding line is green and dashed, and the bleed edge is orange. Those colors describe this file’s legend only. Preserve glue or assembly areas where required by the project instructions.
In the supplied company file, the SHINY logo sits on the Front panel, while the screen opening and five printed controls are on Inside Right. Keep that panel mapping visible during review: an apparently continuous gradient on a flat sheet will be redistributed when the sheet is folded.
Design around the screen and the actual controls
The screen aperture is part of the structure, not an empty space to fill with printed artwork. Keep print content clear of the opening and leave space for the agreed control layout. The supplied template allows screen and button positions to be adjusted, but such changes require confirmation of the internal arrangement and a revised project layout.
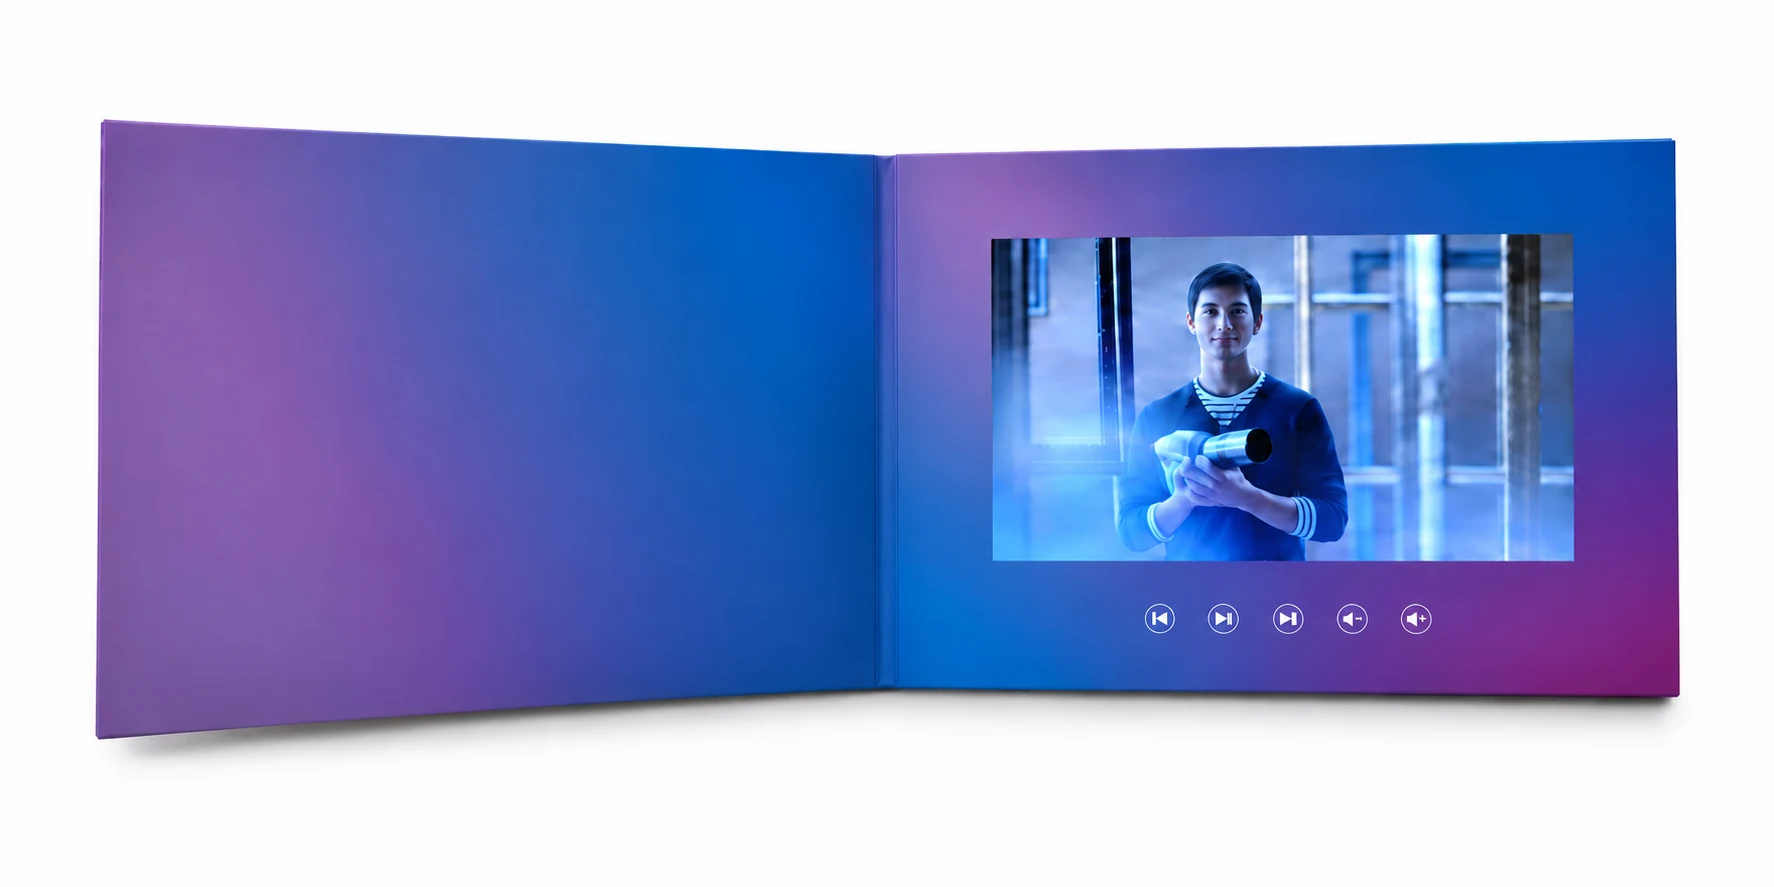
The selected large-screen blue-purple brochure shows the inside layout: printed left panel, screen on the right and a row of five controls below it. Compare the company artwork with that arrangement, including the direction of the gradient, screen placement and control labels. This is a layout explanation, not dimensional verification or evidence of production approval.
Label controls according to their confirmed function. A content-selection key is different from a play, pause or volume control. If printed labels name videos or languages, verify their relationship to the actual files and player behavior. Review the video crop and captions on the selected display as well as the printed layout.
Check the production file before handoff
Use print assets with sufficient detail at their final size and supply vector logos where available. Review color, image links, text and any special-finish layers with the production team. A monitor preview cannot establish the final appearance of ink, foil or coating.
The supplied company artwork notes request outlined fonts, an exported PDF together with the original artwork files, and CMYK using the JAPAN Color 2001 Coated profile. Confirm those requirements for the final job, and retain an editable master before outlining text. The file also states spacing requirements for screens and buttons; their measurement boundaries should be clarified with the factory rather than guessed from the illustration.
Ask how technical layers, print marks, bleed and finishing separations should be delivered. Check the exported PDF itself for missing assets, accidental guide lines, panel orientation and text changes. An editable design file and an exported PDF should represent the same approved revision.
Approve the appearance and function together
Review the assembled sample against the agreed artwork and specification. Check panel orientation, folds, screen alignment, printed control labels and playback. Test any printed QR code from the physical piece. Where color or finish is critical, agree the appropriate physical reference rather than relying only on a screen proof.
Record the template revision, artwork revision, video files and sample reference that were approved. Later changes to a screen position, button layout or structure may affect both print and assembly, so assess them before production release.
Ready to prepare your artwork? Find a matching standard dieline in Heshengcards Resources or contact the team with your intended size, screen requirements and reference design. Confirm the project template before completing the print artwork.
Related articles
 Guides
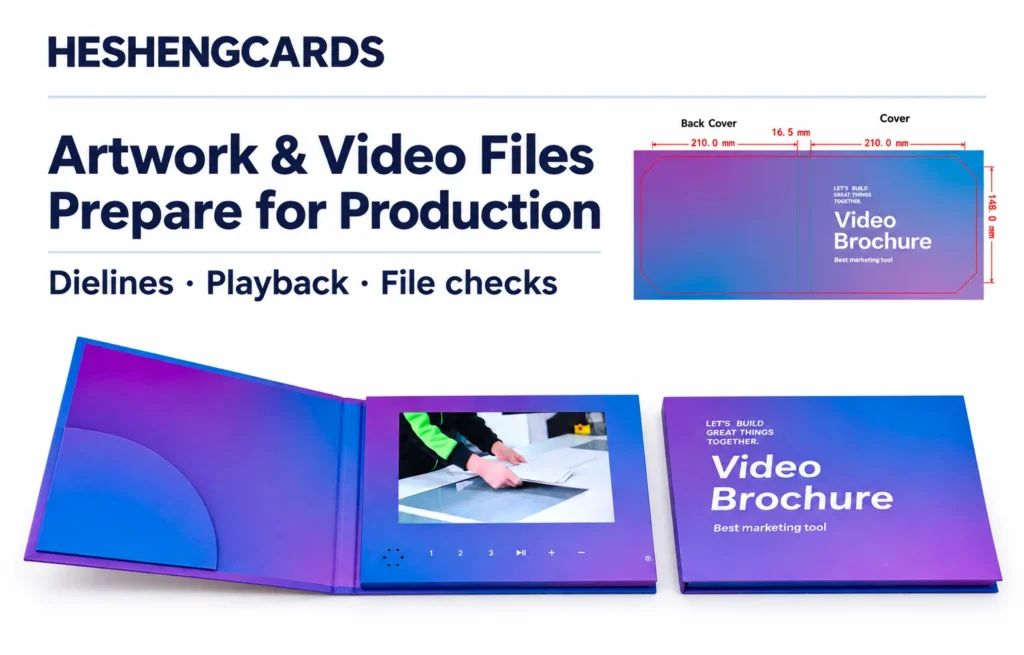
How to Prepare Artwork and Video Files for Production
Prepare the print and video as one experience, then check each against the selected product. Attractive artwork and a video that plays on a laptop are…
Read article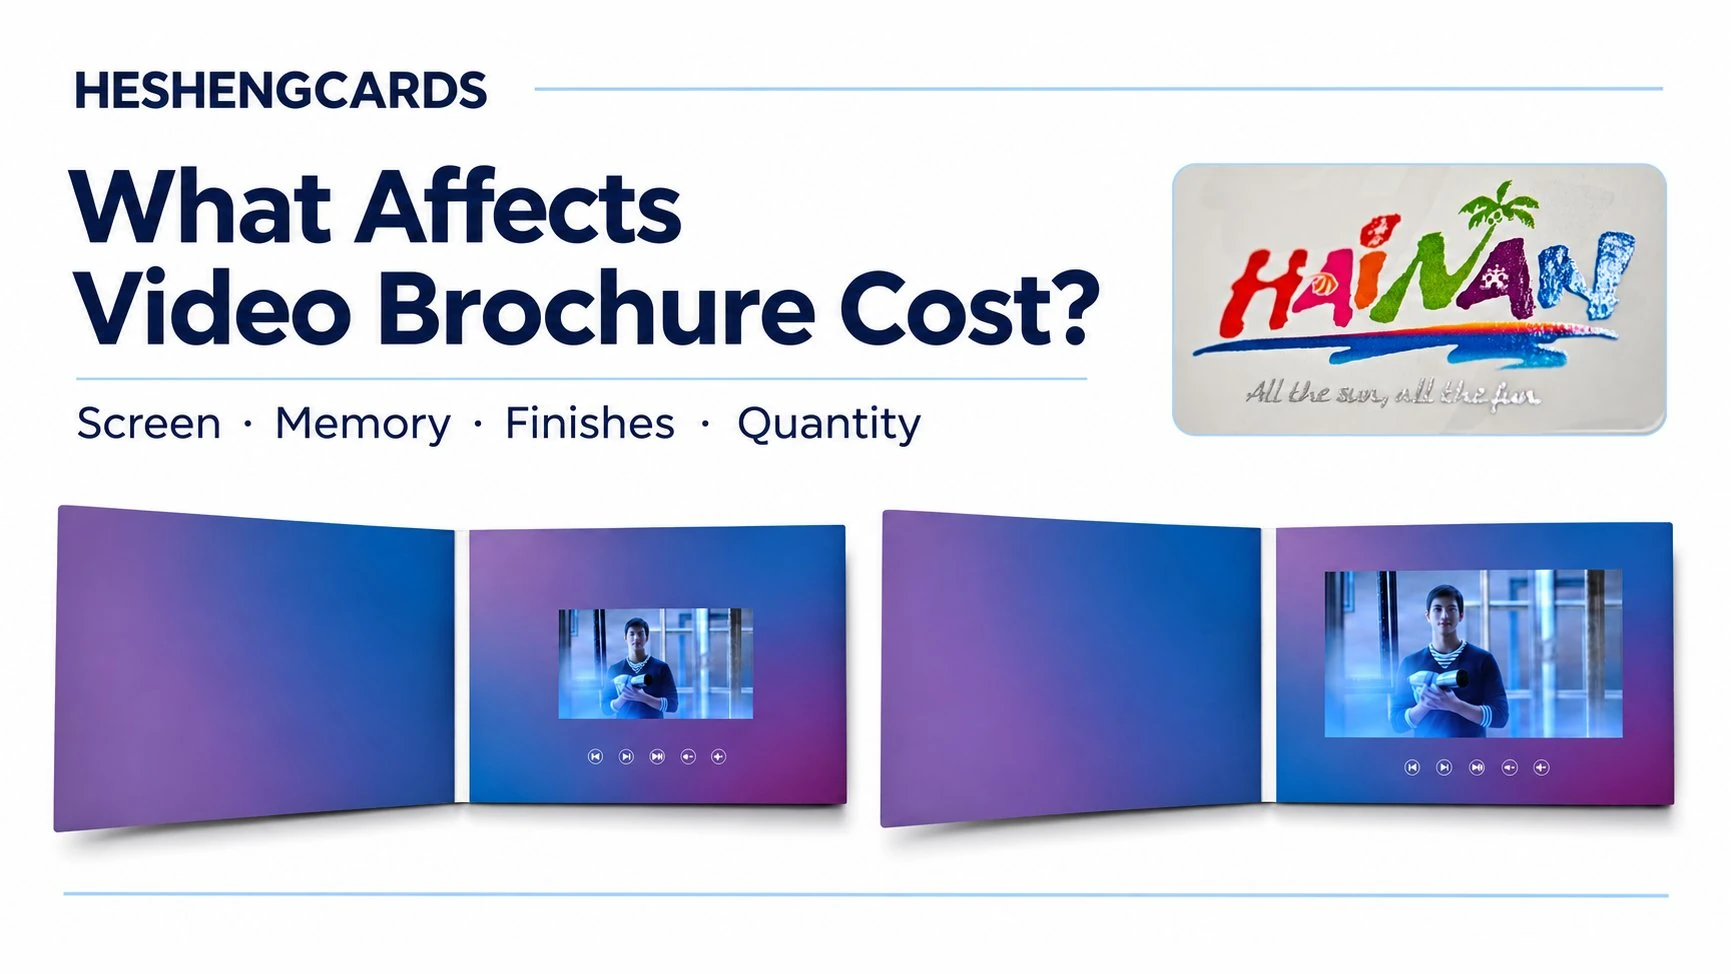 Guides
What Affects the Cost of a Custom Video Brochure?
The cost of a custom video brochure depends on the specification and the work required to deliver it. Quantity and screen selection are important, but a…
Read article Guides
Video Brochure vs Video Box: Which Should You Choose?
A brand introducing a new product may need the recipient to watch a demonstration and then handle a sample. A video box can connect those actions…
Read articleHave a project in mind?
Send us your idea and requirements — we reply within one business day.